Curved Roof

Curved
If you have a symmetrical curved (sprung or barrel vaulted) roof, then you would use the Curved command to draw it.
When you click this command, you are prompted to locate the top centre of the curved roof. Then you locate the direction of the roof. When you have done that, the Curved roof defaults dialog box is displayed, allowing you to set parameters for this roof.
Roof type Here you choose the basic material on this roof. It is one of Tiles, Shingle, Shakes, Metal or Low-Slope.
 Storey You can set the storey of the roof as 1, 2 etc. This makes it easier to separate the roofs making up each storey on screen. Also, various labour rates for estimating a roof can vary from one storey to the next.
Radius This is the radius of the curved roof
Full span This is the span (width) of the curved roof
Length This is the length of the roof. The default length is the distance you have already digitised
Eave height This is the height of the eaves
Rafter spacing This is the rafter spacing which serves no purpose other than for reporting.
[Cancel] This cancels the roof generation
[OK] You can proceed with the roof generation
When you click [OK], the curved roof is drawn.
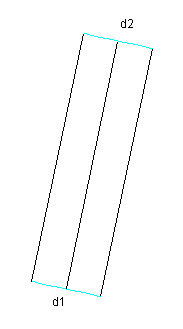
The following diagram shows the two digitised points as the center line of the roof. A better view of the roof can be seen in an isometric view (View > Select > Iso)
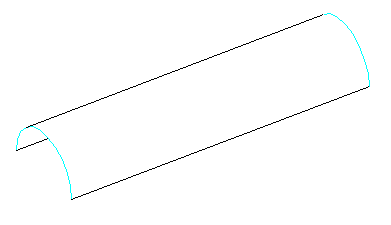
The ends of the roof are assigned as gable ends, and the edges are assigned as eave.
Comments are closed.