Roof Defaults
Roof Defaults
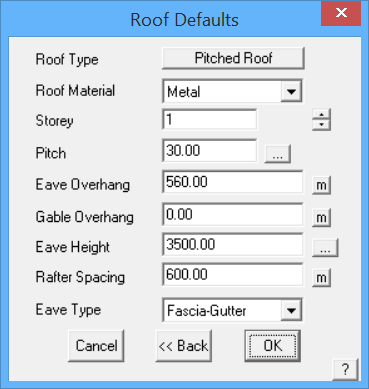
The dialog box for setting the way the roof is constructed is called the Roof Defaults dialog. The software uses the perimeter shape and the settings you make here to create the roof geometry. The dialog is displayed during the Construct Roof > Track Outline or Construct Roof > Digitise process.
Roof type Set the roof style to be a hip roof [Pitched Roof]or a flat [Single Slope] roof.
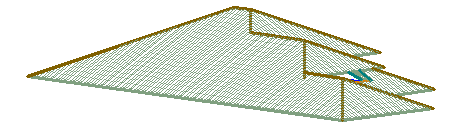
Hip (pitched) roof
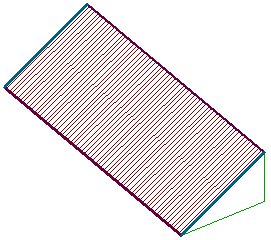
Single slope (flat) roof
Roof Material Here you choose the basic material category on this roof. It is one of Tiles, Shingle, Shakes, Metal, Low-Slope or None.
Storey You can set the storey of the roof as 1, 2 etc. This makes it easier to separate the roofs making up each storey on screen. Also, various labour rates for estimating a roof can vary from one storey to the next depending upon how you define your pay scales.
Pitch This is the pitch of the roof – it is tied to the pay scales as well. You can set up different pay scales for different pitch intervals (this is done under Setup > Pay Rates). The pitch may also be determined from an elevation picture.
Eave Overhang This is the eave overhang past the wall outline you have digitised. If you actually digitised the eave line for the roof, then set the eave offset to 0 (zero). A negative value can be used which prompts you with –
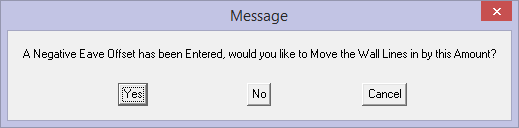
This would typically be used when you digitise an aerial image and wish to show the walls on your model.
Verge Overhang This relates to the overhang of a gable end past the wall line.
Eave Height This is the height of the eave. You may ignore putting in a real value here if you wish, as it is only used for reporting and measuring downpipe lengths. It is important however for multiple level structures such as double storey or split level to correctly determine relative eave heights.
Rafter Spacing This is the rafter spacing which is primarily for information and for estimating accessories based on rafter spacing such as fasteners for battens, gutter clips etc.
Eave Type This allows you to select the type of eave trim you want. You can select from “Fascia and Gutter”, “Fascia only”, “Gutter only” and “None”. All roofs inserted from now on will then adopt the new setting. If you want to change the trim for an existing roof, use the Tools > Cha-LineType command to select a different line category.
[Cancel] This cancels the roof generation
[OK] You can proceed with the roof generation
If you notice an error in the outline, you may select <<Back button to take you to the previous step to redo the roof outline.
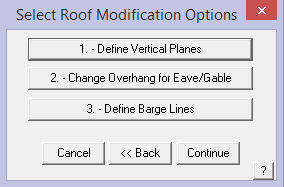
Roof Modification Options
Roof Modification Options dialog box allowing you to
Define Vertical Plane Ends (Gables),
Change Eave-Gable Overhang, or
Define Barge Lines.
They must be selected in order as numbered. If you select barge lines then go to vertical planes, the barge lines option is cancelled.
Vertical Planes (Gables)
You select 1. – Define Vertical Planes, if you need to have the software create a gable end instead of a hip end. Select one or more wall lines where you want to a gable or vertical plane to be built. This may also result in what some roofers call mono-ridge. Click the right hand mouse button to finish selecting gable wall lines, then click [Yes] to confirm the wall lines adjacent to the gables or mono-ridges. While nothing happens immediately, the software is now ready to make the selected eave lines into gable ends during construction of the roof.
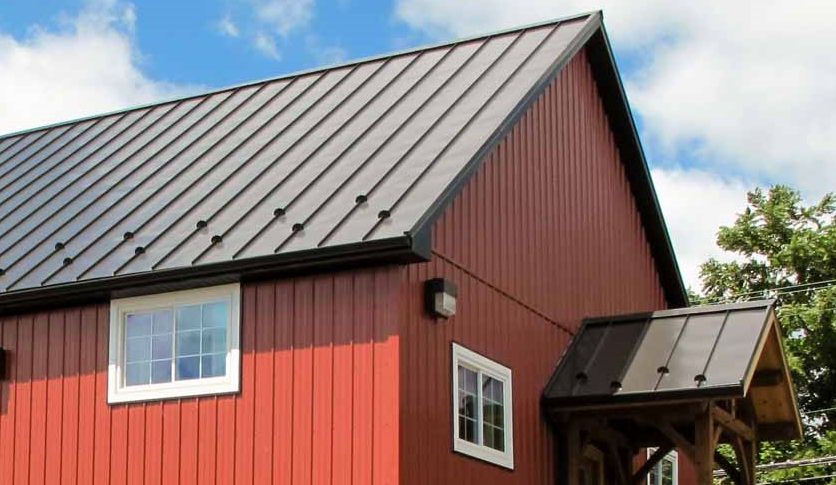
A gable end above the entry awning
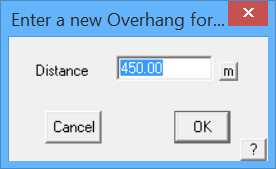
Change Overhangs
To alter the eave or gable overhang for a specific wall, click on [2. – Change Eave/Gable Overhangs]. You then select a wall line and enter a new eave overhang value into the dialog box as displayed below. This is displayed after each line is changed. You can enter any value – it is the distance measured off the wall line. Click the right mouse button to finish changing overhangs from the wall line to the eave.
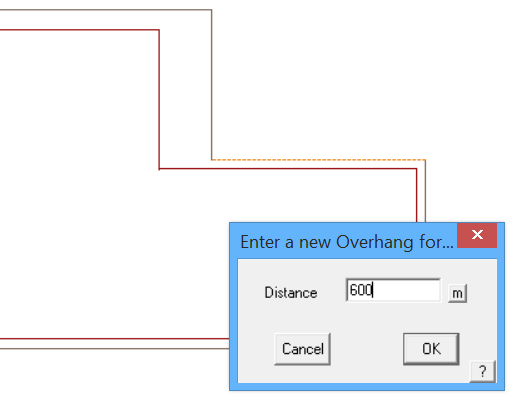
Barge/rake lines
This picture shows an example of barge/rake lines on a roof – where the eave height of the roof changes up and then down again, in this case the barge/rake lines are extended under the eave (Mod-Roof > Extend Barge).
Again you are prompted with the previous dialog, to select barge (rake) lines if there are any. Select [3. – Define Barge Lines], then select the lines that are required to be barge or rake lines. Right click when you are finished selecting lines. A barge/rake line will be required where the eave height changes as shown in the picture above.
Barge lines define a change in eave height in a single roof plane. To make geometric sense, there cannot be a single barge line, but a combination of barge lines which collectively compensate for a change in eave height. In simple terms, if a barge line goes up an amount, it must come down the same amount or an eave line will end up sloping, which you cannot have.
After you have finished selecting vertical plane lines, new eave offsets and barge lines, click [Continue] and the roof is drawn showing all the eaves, hips, ridges, valleys and barges. On each roof outline, a plane is created. This simply links its lines together to form a single roof plane. It is this plane which is used to calculate the area of the roof as well as other roof geometric properties.
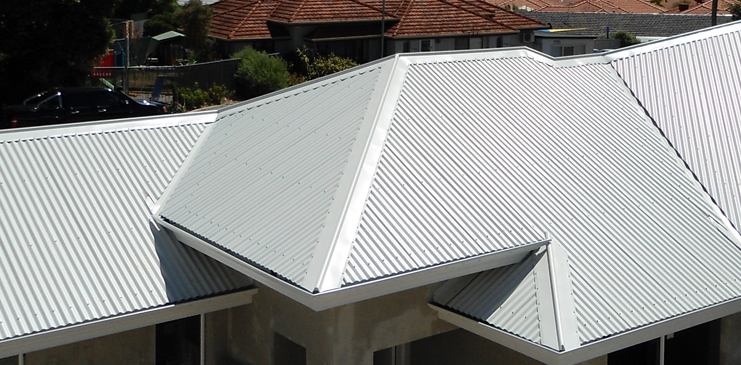
To visualize the plane, you can select Tools > Show-Planes which draws each roof plane with a hatch or filled planes as determined by your preference settings. Hatch lines normal to the eave indicate metal roofing (as shown above); hatch lines parallel to the eave indicate tile or shingle roofing and diagonal lines indicate a low slope material such as BUR or single ply.
To turn off the hatching, select Tools > Hide-Planes. When the roof plane is drawn without a hatch, a small tick mark is drawn in one of the corners of the plane. You would then select this tick mark if you want to select that roof plane for any reason. Because the little tick mark is very adept at hiding itself, you should turn your roof planes ON any time you wish to modify or select roof planes as part of the modelling process.
![]() Note: Because a roof plane is controlled by the bounding lines (the eave, hip, valley and ridge lines for example) you cannot delete a roofline without first deleting the roof plane the line it is attached to. Also note that most roof lines may be attached to at least 2 roof planes.
Note: Because a roof plane is controlled by the bounding lines (the eave, hip, valley and ridge lines for example) you cannot delete a roofline without first deleting the roof plane the line it is attached to. Also note that most roof lines may be attached to at least 2 roof planes.
Comments are closed.